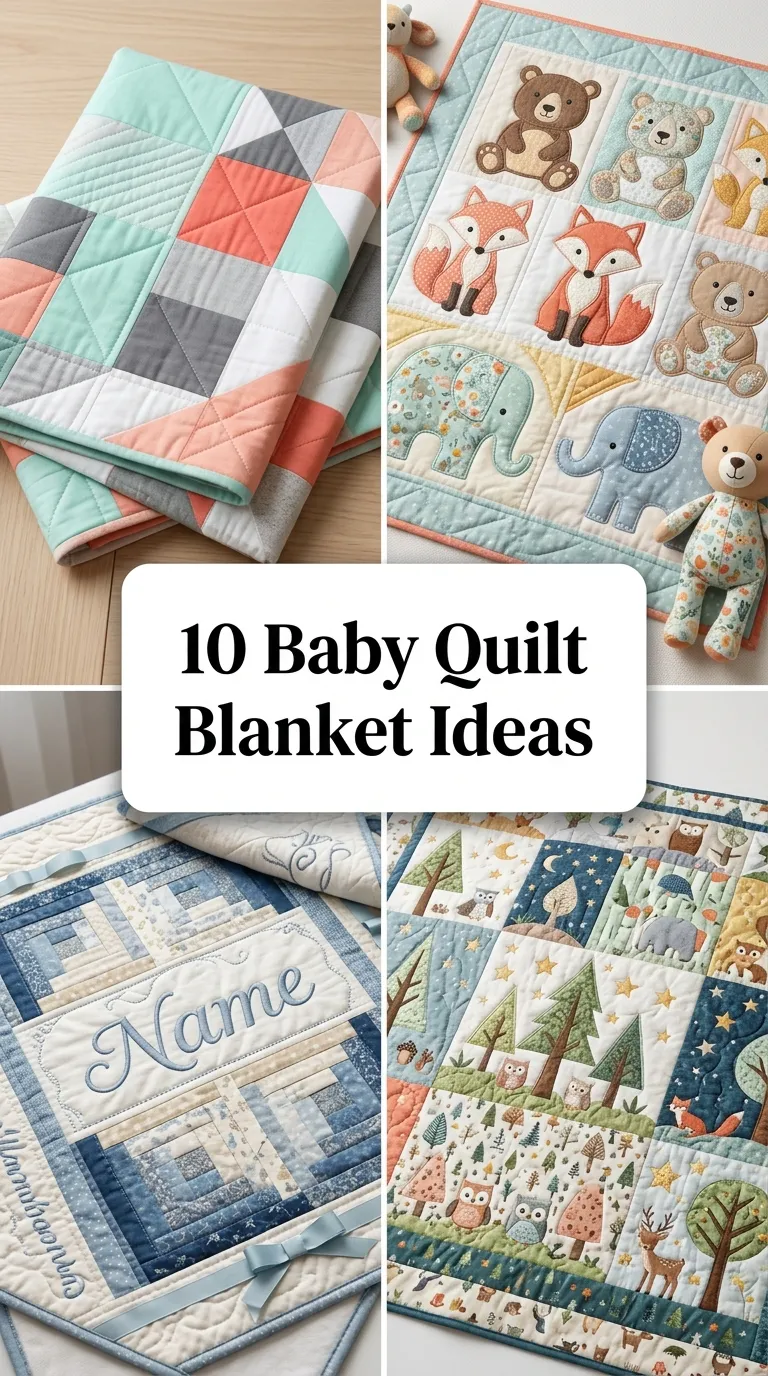
10 Baby Quilt Blanket Ideas
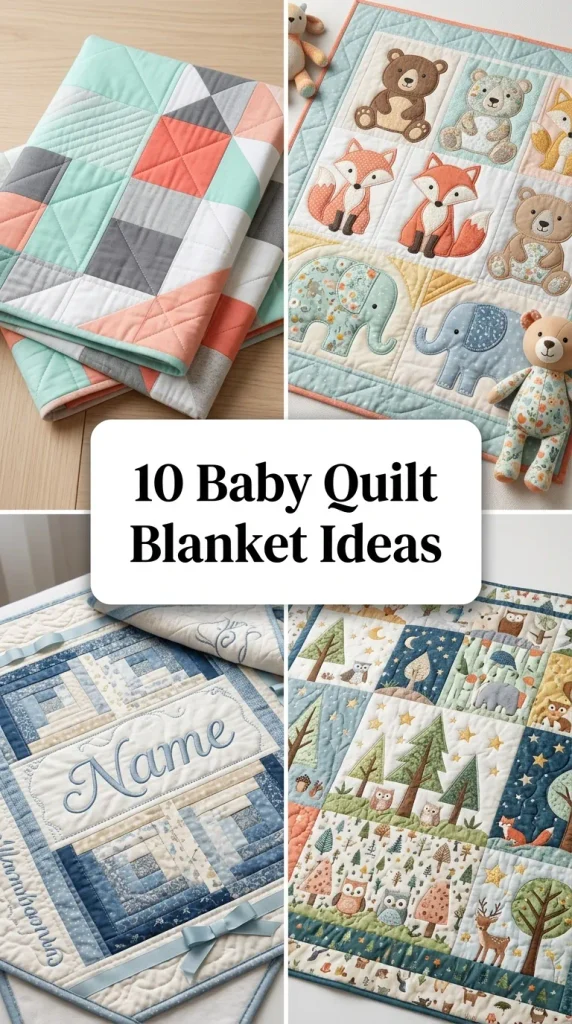
10 Baby Quilt Blanket Ideas
Introduction
Creating a handmade baby quilt blanket combines practical utility with timeless nursery design. A dedicated baby quilt serves as a versatile essential for floor playtime, stroller outings, tummy time, and heirloom keepsake preservation. This comprehensive guide details ten distinct baby quilt design concepts, focusing on beginner-friendly construction techniques, fabric curation, and functional durability. Readers will learn the core fundamentals of selecting breathable textiles, cutting accurate geometric patchwork, assembling cozy quilt sandwiches, and finishing clean edge bindings. Mastering these sewing and design principles ensures that every blanket withstands frequent machine washing while remaining soft against sensitive newborn skin. Whether you are crafting a gift for an upcoming baby shower or styling a custom nursery theme, intentional quilt construction produces a charming, practical, and long-lasting textile piece.
Why This Idea Is Trending or Useful
Baby quilt projects remain consistently popular on modern craft platforms because they offer manageable proportions and immense sentimental value. Unlike large bed coverings, baby quilts feature compact dimensions, typically between thirty-six and forty-eight inches square, allowing crafters to complete an entire project within a few dedicated sessions. The rise of modern organic nurseries has fueled interest in handmade blankets crafted from natural fibers like unbleached cotton, linen blends, and breathable bamboo batting. For sewing beginners, baby quilts serve as the ultimate skill-building canvas to master straight-line machine stitching, rotary cutting accuracy, and creative color placement without extensive financial investment. These versatile textile projects allow makers to customize colors and motifs to match contemporary nursery aesthetics while producing durable, washable blankets that families cherish for generations.
Materials and Preparation
Proper preparation and quality material selection ensure your finished baby quilt remains soft, structured, and resilient over years of use. Gather high-grade, pre-washed quilting cotton or natural linen fabrics for the quilt top, ensuring all textiles are pre-shrunk before cutting. Select breathable, low-loft cotton or bamboo batting to provide lightweight warmth without overheating sensitive infants. Core tools include a rotary cutter, a self-healing cutting mat, a non-slip acrylic ruler, curved safety pins for basting, and neutral cotton sewing thread. Begin by pressing all washed fabrics flat with a steam iron to remove wrinkles and grain distortion. Measure and cut fabric pieces precisely along the straight grain, organizing cut components into labeled stacks according to your chosen pattern block sequence before moving to the sewing machine.
Main Ideas Section
Idea 1: Classic Pastel Patchwork Grid
How to Create
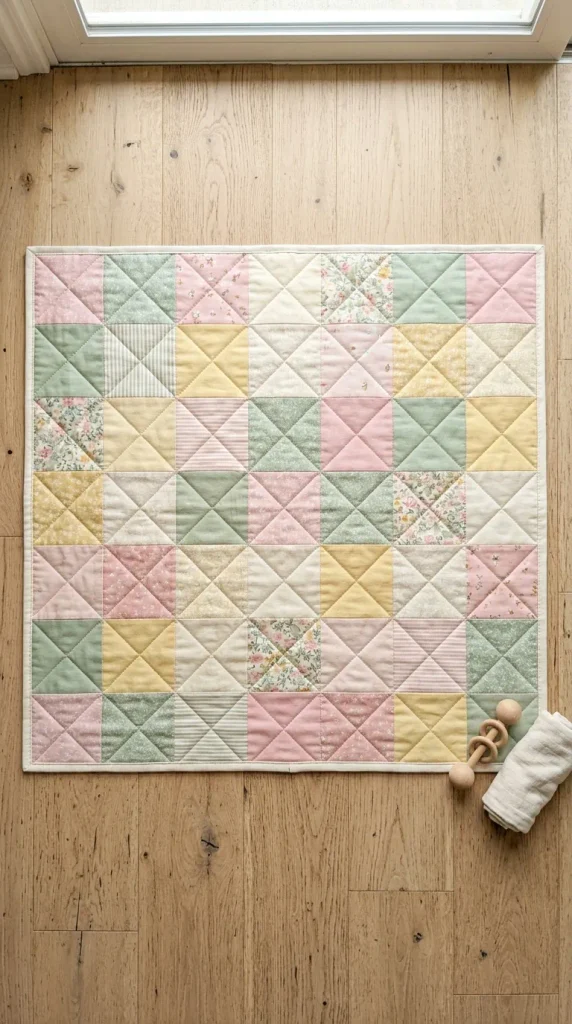
Cut forty-nine five-inch fabric squares from a coordinated bundle of pastel pink, soft sage, butter yellow, and cream quilting cotton. Lay the squares out in a balanced seven-by-seven grid on a flat table, ensuring no two identical patterns sit directly adjacent to one another. Sew the squares together horizontally into seven distinct rows using an accurate quarter-inch seam allowance. Press the seam allowances of alternating rows in opposite directions to allow seams to nest together cleanly when joining rows. Pin and stitch the horizontal rows together, pressing the entire quilt top flat. Layer the finished top over low-loft cotton batting and a soft white flannel backing fabric. Quilt simple straight diagonal grid lines across the patchwork surface, then bind the raw outer perimeter with a double-fold cotton strip for a crisp, timeless finish.
Idea 2: Modern Geometric Half-Square Triangles
Setup Method
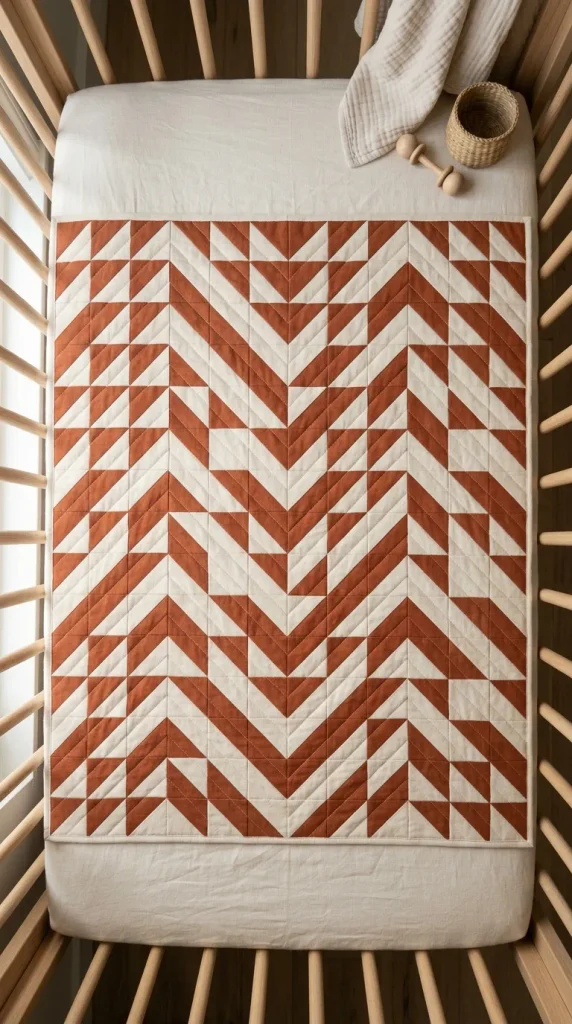
Pair contrasting solid fabrics, such as warm terracotta and unbleached natural cotton, by placing five-inch squares right sides together. Draw a light diagonal pencil line across the wrong side of the lighter square, then stitch two parallel lines exactly a quarter inch away from both sides of the drawn line. Cut directly along the drawn center line to yield two identical half-square triangle units, then press seams open and trim each unit to an exact four-and-a-half-inch square. Arrange sixty-four triangle units into an alternating chevron or diamond pattern across eight rows. Stitch the units together into rows, join the rows into a complete top, and secure the quilt sandwich with curved basting pins. Topstitch straight lines echoing the geometric angles of the triangles to create clean, modern nursery visual texture.
Idea 3: The Minimalist Strip Pieced Rail Fence
Step-by-Step Guide
Cut long two-and-a-half-inch fabric strips from four harmonious earth-toned cotton fabrics, such as oatmeal, clay, warm taupe, and olive. Sew four different strips together lengthwise with a quarter-inch seam allowance to form a wide striped panel, pressing all seams firmly to one side. Sub-cut the sewn panel horizontally into identical eight-and-a-half-inch square blocks. Arrange the blocks in alternating horizontal and vertical orientations across a five-by-six grid to establish a woven basketweave aesthetic. Stitch the blocks together into rows, matching seam intersections carefully with straight pins. Layer the assembled quilt top over breathable bamboo batting and a wide neutral linen backing. Machine quilt simple vertical lines running one inch apart down the blanket length to accentuate the clean, minimalist linear construction.
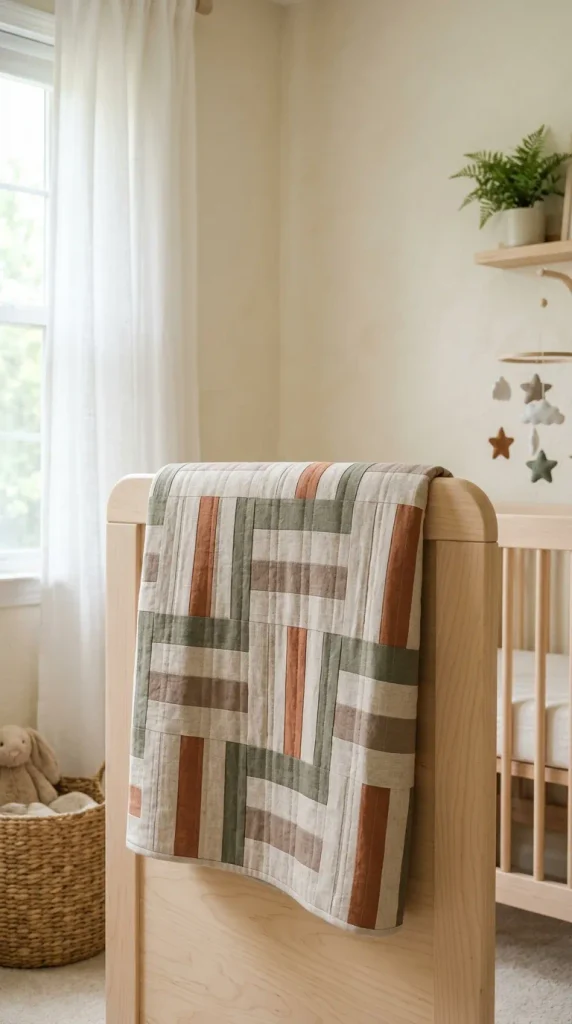
Idea 4: Whimsical Woodland Applique Medallion
Execution Process
Construct a wide, neutral cream patchwork border around an oversized twelve-inch solid linen center medallion block. Trace simple animal silhouettes, such as a sitting bear, sleeping fox, or woodland deer, onto the paper backing of lightweight double-sided fusible web. Iron the fusible web onto the reverse side of patterned cotton scraps, carefully cut out the silhouette shapes, and peel away the paper backing. Center and fuse the fabric silhouette onto the middle medallion block using a hot dry iron. Secure all outer raw edges of the animal applique using a tight, decorative blanket stitch on your sewing machine. Assemble the remaining border blocks around the center piece, layer the quilt layers, and machine-quilt organic wavy tree-ring contours outward from the central motif toward the outer blanket binding.
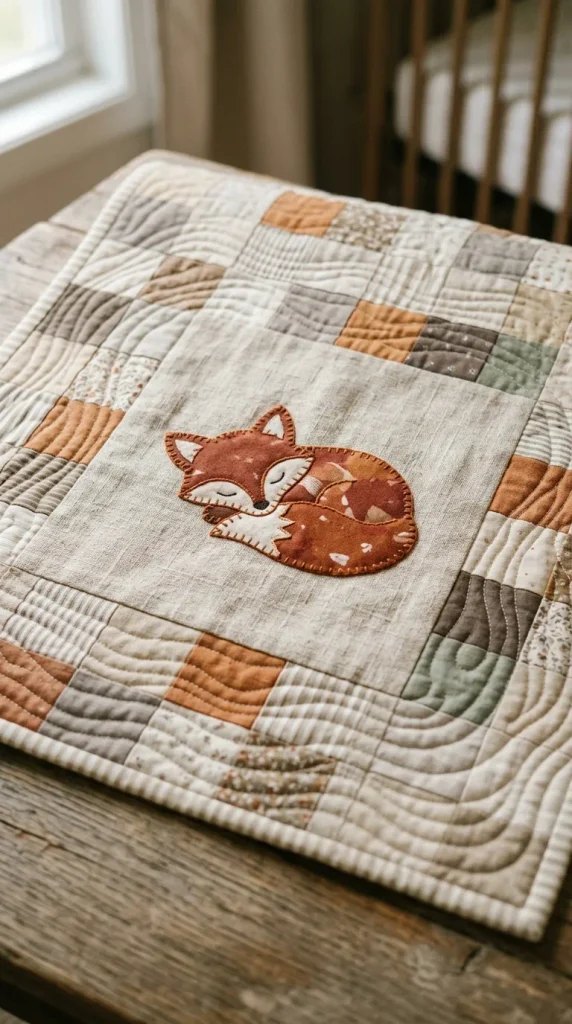
Idea 5: Scrappy Rainbow Herringbone
How to Make
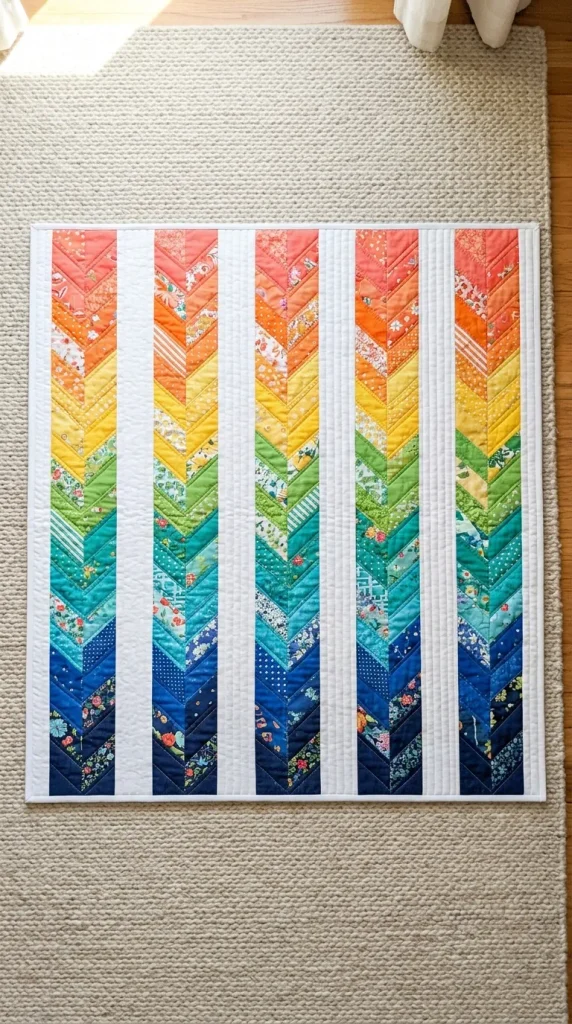
Collect an assortment of colorful scrap fabric strips cut to two inches wide by six inches long, sorting them into chromatic color groups from warm coral to cool navy. Sew individual strips diagonally onto a central foundation cotton strip to construct uniform herringbone or braid columns. Stitch several completed herringbone panels side by side, separating each colorful column with a two-inch sashing strip of solid white cotton to provide clean visual resting space. Press all joined seams outward toward the sashing strips. Layer the top over lightweight batting and finish the reverse side with a playful micro-polka-dot cotton backing. Stitch continuous vertical lines along the ditch of each sashing strip, allowing the colorful scrap herringbone textures to pop forward with vibrant energy.
Idea 6: The Soft Minky Backed Gingham Quilt
Step-by-Step Guide
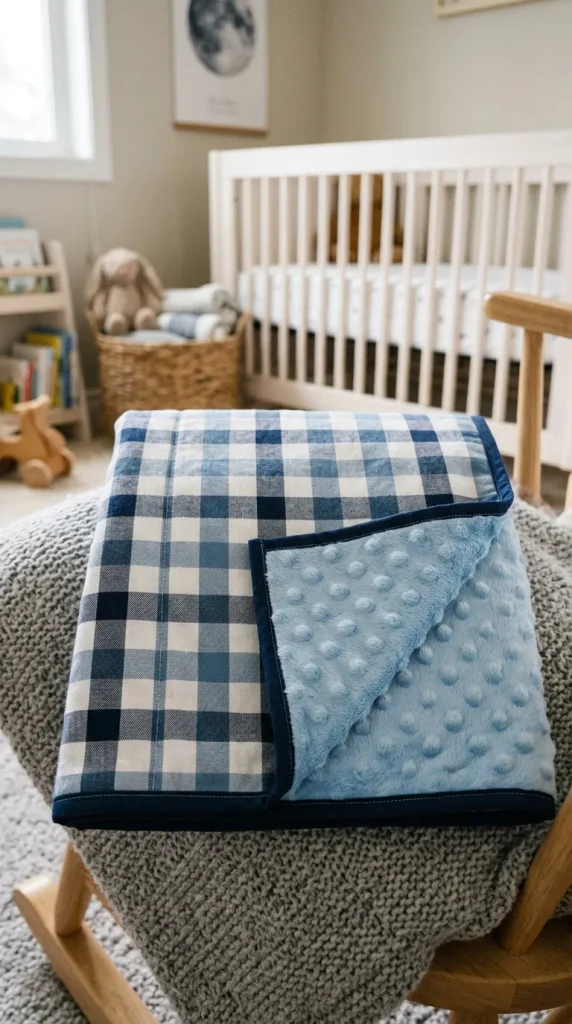
Create a classic buffalo check or gingham appearance using three distinct values of one color family: solid white, medium dusty blue, and deep navy cotton. Cut dozens of four-inch squares, arranging them in alternating rows where white squares meet medium blue, and medium blue squares meet navy, simulating woven transparency. Assemble the squares into nine precise horizontal rows and join them into a unified forty-by-forty-inch top. For the backing, cut a piece of textured dimple-dot minky fabric two inches wider than the quilt top on all sides. Pin the layers extensively every three inches using safety pins to prevent the slippery minky fabric from stretching. Machine-quilt straight horizontal and vertical lines through the center of every square, then bind with matching navy cotton binding.
Idea 7: Celestial Star Block Sampler
Setup Method
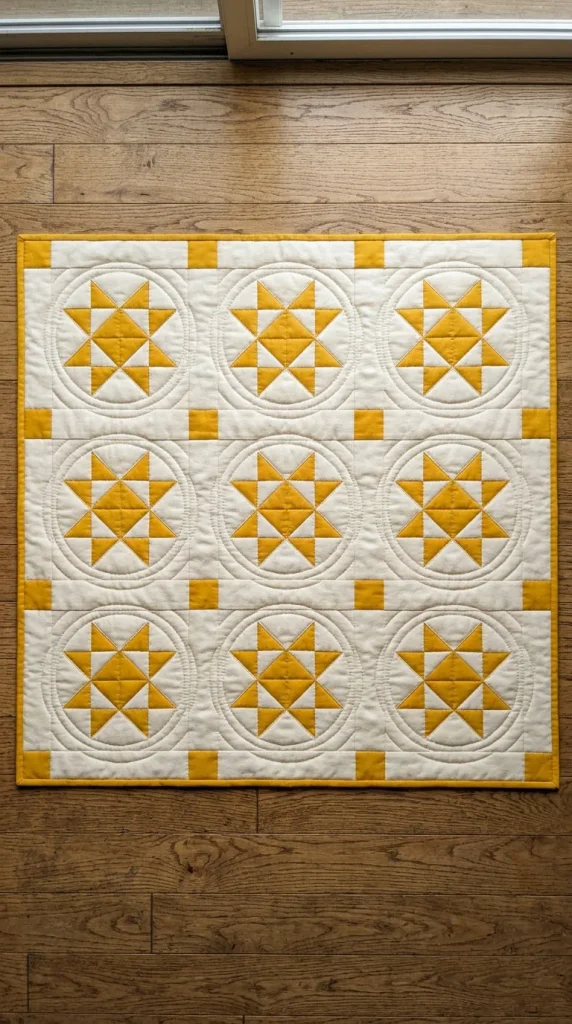
Construct nine individual twelve-inch star blocks, combining traditional Sawtooth and Ohio Star designs using crisp golden yellow and warm cream fabrics. Assemble flying geese units accurately by stitching smaller squares across the corners of larger rectangles, trimming excess seam allowances, and pressing corners outward. Join four flying geese units around a central solid square, framed by four corner plain squares, to form each completed star block. Connect the nine finished star blocks using two-inch sashing strips, placing small cornerstones at every grid intersection for a tailored, architectural look. Layer the top with plush wool batting to give the stars high-definition puff and texture. Quilt gentle circular rings around each star block to create the visual impression of glowing cosmic halos across the surface.
Idea 8: The Cozy Wholecloth Kantha-Stitched Blanket
Execution Process
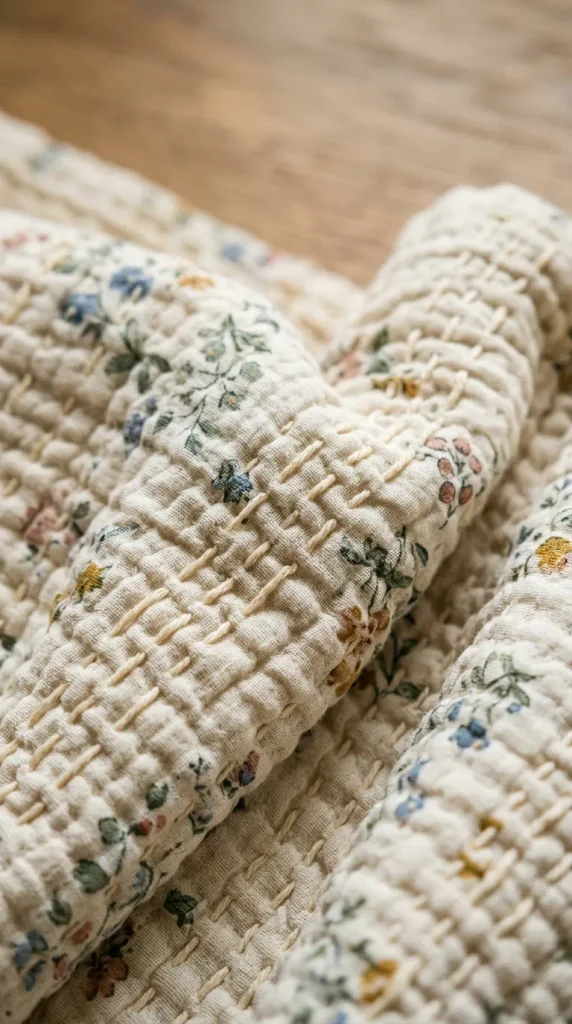
Select two coordinating yards of ultra-soft, four-ply organic cotton gauze or washed cotton sateen featuring a subtle floral or botanical print. Lay the backing fabric smooth on a clean floor, cover with an ultra-thin layer of natural cotton batting, and top with the primary patterned fabric without cutting patchwork seams. Secure the entire perimeter and interior with basting thread or pins placed every four inches. Using thick size-eight pearl cotton embroidery thread in a warm contrasting color and a long embroidery needle, hand-stitch continuous running lines spaced one inch apart across the entire blanket. These organic, hand-sewn running stitches provide incredible flexibility, heirloom artisanal charm, and tactile puckered texture after the first gentle laundering cycle.
Idea 9: Modern Ombre Watercolor Fade
How to Make
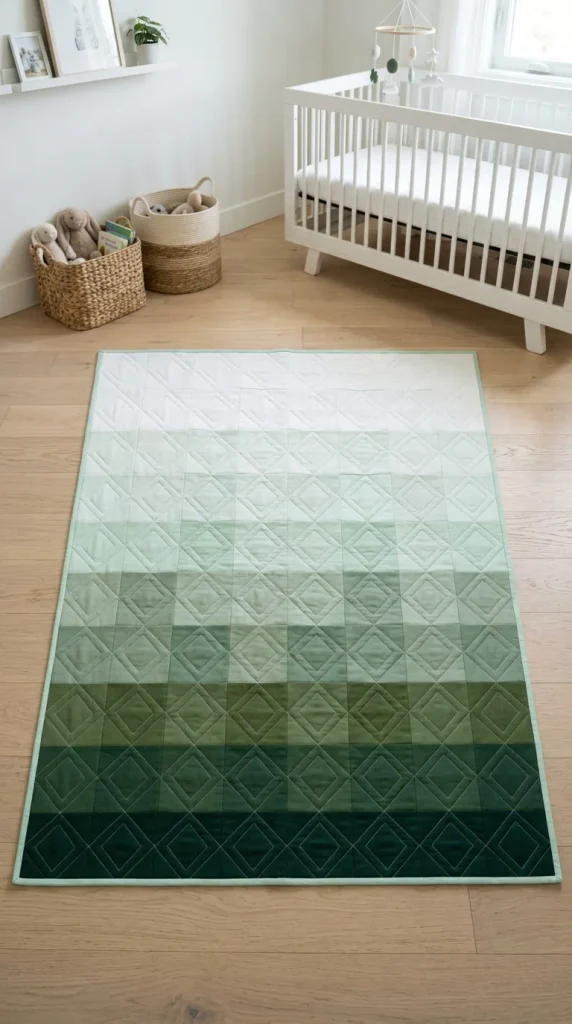
Choose twelve distinct solid cotton fabrics that transition smoothly across a gradient spectrum, such as deep forest green gradually fading into pale mint and crisp white. Cut eighty four-inch squares, arranging them in a cascading horizontal color gradient that shifts seamlessly from dark shades at the bottom to the lightest tones at the top. Sew the squares together into precise columns, pressing vertical seams in alternating directions to lock seam intersections smoothly. Assemble the columns into a full forty-by-fifty-inch blanket top. Back the quilt with a matching pale mint cotton sheet and layer with lightweight cotton batting. Topstitch modern geometric diamond lines across the entire gradient layout, emphasizing the smooth, fluid color transition while maintaining a structured, contemporary aesthetic ideal for modern crib styling.
Idea 10: Organic Cottagecore Hexie Garden
How to Create
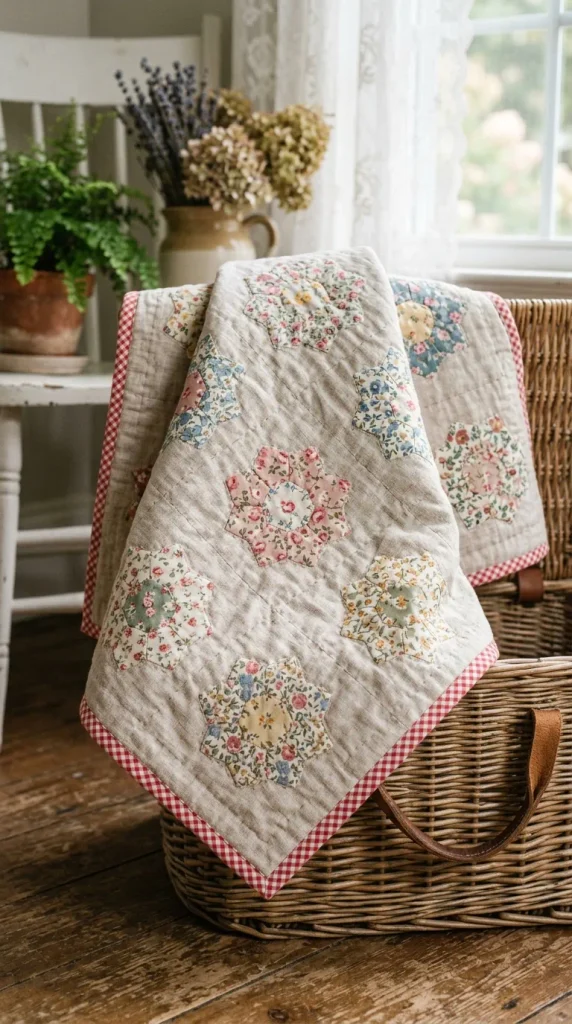
Wrap small vintage floral fabric scraps around one-inch paper hexagon templates, securing the fabric edges with temporary basting stitches through the corners. Hand-sew seven hexagons together into floral rosette clusters using a fine whipstitch along the joined outer edges, placing a solid yellow hexagon in the center of six patterned petals. Remove paper templates once clusters are joined, pressing the rosettes completely flat. Applique the completed hexagon flowers onto a large, solid linen-cotton background panel spaced evenly apart. Layer the assembled decorative top over low-loft bamboo batting and a soft ditsy-floral cotton backing. Machine-quilt gentle undulating curves around each floral cluster, finishing the blanket edges with a bias-cut gingham cotton binding for a charming, rustic vintage look.
Common Beginner Mistakes and How to Avoid Them
The most frequent mistake beginner quilters encounter is inconsistent seam allowance width, which causes patchwork blocks to warp and fail to align at corner intersections. Always use a dedicated quarter-inch presser foot or place a visual tape guide on your sewing machine to maintain a strict, uniform seam width throughout assembly. Another common error is skipping fabric pre-washing; unwashed fabrics can shrink at different rates during the first wash, causing puckering and broken stitches. Additionally, insufficient basting of the quilt layers leads to bunching and shifted backing fabric during topstitching. Secure all three layers generously using curved quilting safety pins or temporary fabric basting spray spaced every three to four inches across the entire surface before beginning any machine quilting.
Practical Tips for Better Results
To achieve clean, professional results on baby quilt projects, invest time in pressing your seams properly using a hot steam iron. Press seam allowances flat rather than dragging the iron back and forth, which stretches fabric bias and distorts square dimensions. When cutting multiple fabric strips, replace rotary cutter blades regularly to ensure clean, effortless cuts that prevent jagged thread edges. Use a walking foot attachment on your sewing machine when quilting through multiple thick layers; this evenly feeds both the top fabric and bottom backing under the needle at identical speeds, eliminating wrinkles. Finally, choose machine needles suited for medium-weight cotton, such as size 80/12 universal or quilting needles, to maintain smooth stitch formation and prevent snagging delicate fabric weaves.
Styling, Presentation, or Organization Ideas
A finished handmade baby quilt functions as both a cozy functional blanket and a key decorative element in a styled nursery. Drape the quilt artfully over the side of a wooden crib or hanging display ladder to introduce color and tactile warmth into the nursery. Roll smaller playtime quilts neatly and store them in a woven floor basket alongside nursery toys and board books for easy access during daily floor activities. When gifting a baby quilt for a shower, fold the blanket into a clean square, tie it with a wide raw-edge linen ribbon, and attach a care tag detailing fabric washing instructions. Photographing finished quilts flat against neutral hardwood flooring under bright, indirect natural sunlight highlights intricate topstitching details and colorful patchwork balance for online sharing and keepsake albums.
Budget or Time Planning
Crafting a beautiful, high-quality baby quilt is an accessible project that fits comfortably within modest craft budgets and tight schedules. Fabric requirements for a standard crib-sized quilt typically range between two and three total yards of fabric, costing approximately thirty to forty-five dollars when utilizing standard quilting cottons or scrap bundles. Sourcing batting remnants and repurposing vintage cotton sheets for quilt backing reduces overall expenses significantly. In terms of time allocation, a beginner can complete a simple patchwork baby quilt in roughly six to eight total hours spread across a single weekend. Dedicate two hours to cutting and sorting fabric components, three hours to piecing and assembling the quilt top, and three hours to basting, quilting, and sewing on the perimeter binding.
Creative Expansion and Advanced Inspiration
After mastering fundamental patchwork blocks, expand your quilting skills by incorporating advanced textile techniques into your baby blanket designs. Experiment with personalized machine embroidery or hand-stitched monograms inside border cornerstones to document baby birth dates and names permanently into the heirloom. Introduce tactile, sensory-rich materials into specific patchwork sections, such as natural double gauze, textured waffle weave, or subtle linen-cotton blends, to engage developing infant touch during tummy time. For advanced visual intrigue, explore curved piecing techniques like Drunkard’s Path blocks or modern improv freeform patchwork that challenges traditional grid alignments. Exploring these creative avenues transforms basic functional blankets into artistic, one-of-a-kind textile treasures that grow alongside a child through every developmental stage.